Toilet — flush button stays pressed
Check the external panel without dismantling the enclosure.
Difficulty
Easy
Time
5–25 min
Cost
—
Symptoms
- flush button does not return
Possible causes
1Obstruction around the accessible button
Less likelyThis is a possible explanation, not a confirmed diagnosis. Compare it with the safe checks below.
- If water keeps running, close a known accessible valve gently. Identify the button model.
Initial checks
- If water keeps running, close a known accessible valve gently. Identify the button model.
- Wipe the panel and remove loose dirt from its edge. Do not pry the panel or insert blades.
- Check return after one gentle press. Any removal must follow the exact panel instructions.
Step-by-step repair instructions
- 1
Prepare a safe place
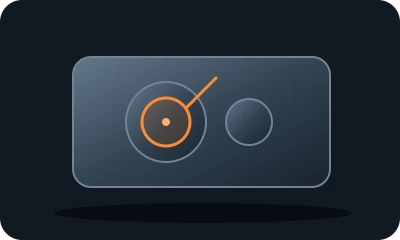
Reference diagram. The marker shows an example inspection area. Follow your model's manual. 
Conceptual illustration. Follow the text and your model's manual. Locate the water shut-off. If a task requires disconnecting a part, shut off the water and release pressure as instructed first. Do not work around water near electrical equipment.
Expected result: You understand the model instructions and can safely perform the listed tasks.
About 3 min
Stop if: The model, access or safe preparation is unclear.
- 2
Locate water shut-off
Reference diagram. The marker shows an example inspection area. Follow your model's manual. Conceptual illustration. Follow the text and your model's manual. If water keeps running, close a known accessible valve gently. Identify the button model.
Expected result: Supply can be controlled.
About 4 min
Stop if: The valve leaks or cannot be identified.
- 3
Clean the surface gap
Reference diagram. The marker shows an example inspection area. Follow your model's manual. 
Conceptual illustration. Follow the text and your model's manual. Wipe the panel and remove loose dirt from its edge. Do not pry the panel or insert blades.
Expected result: The button edge is unobstructed.
About 4 min
Stop if: The panel cracks or comes away.
- 4
Press gently once
Reference diagram. The marker shows an example inspection area. Follow your model's manual. Conceptual illustration. Follow the text and your model's manual. Check return after one gentle press. Any removal must follow the exact panel instructions.
Expected result: The button returns to rest.
About 4 min
Stop if: The button stays down or water continues.
- 5
Check the outcome and save your notes
Reference diagram. The marker shows an example inspection area. Follow your model's manual. 
Conceptual illustration. Follow the text and your model's manual. Restore parts to their normal position as instructed. Perform one brief, safe check. Note what changed after each task; if the fault remains, give a technician the model and a photo of the symptom.
Expected result: The symptom has stopped or you have clear notes for a technician.
About 3 min
Stop if: Refer an uncertain mechanism or continuous leak to a plumber. Do not break the panel to stop flow.
When should you call a professional?
Refer an uncertain mechanism or continuous leak to a plumber. Do not break the panel to stop flow.
Does your situation look different?
Take a photo — FIXIT will assess your fault and suggest checks for your situation.
Check your problemThis guide is for information only. If unsure, get professional help. In an emergency, call 112.