Printer — output uses the wrong side of paper
Use a two-page test before changing drivers.
Difficulty
Easy
Time
5–25 min
Cost
—
Symptoms
- duplex output is upside down
Possible causes
1Wrong binding edge or orientation
Less likelyThis is a possible explanation, not a confirmed diagnosis. Compare it with the safe checks below.
- Open a non-sensitive two-page document and inspect portrait or landscape orientation. Note the current print mode.
Initial checks
- Open a non-sensitive two-page document and inspect portrait or landscape orientation. Note the current print mode.
- Choose long-edge or short-edge flipping to suit the layout. For manual duplex check the feeder instructions.
- Print one pair and check page turning. Note the correct option for this printer without changing other users' settings.
Step-by-step repair instructions
- 1
Prepare a safe place
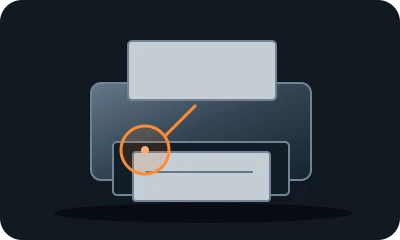
Reference diagram. The marker shows an example inspection area. Follow your model's manual. 
Conceptual illustration. Follow the text and your model's manual. Find the manual and model identifier. Photograph the initial condition. Start with reversible checks that do not open the casing or require force.
Expected result: You understand the model instructions and can safely perform the listed tasks.
About 3 min
Stop if: The model, access or safe preparation is unclear.
- 2
Check print preview
Reference diagram. The marker shows an example inspection area. Follow your model's manual. 
Conceptual illustration. Follow the text and your model's manual. Open a non-sensitive two-page document and inspect portrait or landscape orientation. Note the current print mode.
Expected result: The document has the intended orientation.
About 4 min
Stop if: Sensitive data would reach a shared printer.
- 3
Choose the binding edge
Reference diagram. The marker shows an example inspection area. Follow your model's manual. Conceptual illustration. Follow the text and your model's manual. Choose long-edge or short-edge flipping to suit the layout. For manual duplex check the feeder instructions.
Expected result: The setting matches how pages are read.
About 4 min
Stop if: The feeder reports a jam.
- 4
Print two pages
Reference diagram. The marker shows an example inspection area. Follow your model's manual. 
Conceptual illustration. Follow the text and your model's manual. Print one pair and check page turning. Note the correct option for this printer without changing other users' settings.
Expected result: Both sides read in the intended direction.
About 4 min
Stop if: Paper jams or unusual noise occurs.
- 5
Check the outcome and save your notes
Reference diagram. The marker shows an example inspection area. Follow your model's manual. Conceptual illustration. Follow the text and your model's manual. Restore parts to their normal position as instructed. Perform one brief, safe check. Note what changed after each task; if the fault remains, give a technician the model and a photo of the symptom.
Expected result: The symptom has stopped or you have clear notes for a technician.
About 3 min
Stop if: Do not pull jammed paper forcefully. Follow the manufacturer's user jam-clearing instructions.
When should you call a professional?
Do not pull jammed paper forcefully. Follow the manufacturer's user jam-clearing instructions.
Does your situation look different?
Take a photo — FIXIT will assess your fault and suggest checks for your situation.
Check your problemThis guide is for information only. If unsure, get professional help. In an emergency, call 112.