Helmet — removable comfort padding needs cleaning
Clean only parts identified in the helmet manual.
Difficulty
Easy
Time
5–25 min
Cost
—
Symptoms
- odour and sweat in comfort padding
Possible causes
1Dirty removable comfort padding
Less likelyThis is a possible explanation, not a confirmed diagnosis. Compare it with the safe checks below.
- Find the model and removal diagram for soft pads. Distinguish them from the fixed protective EPS liner. Photograph their position.
Initial checks
- Find the model and removal diagram for soft pads. Distinguish them from the fixed protective EPS liner. Photograph their position.
- Remove pads without pulling intercom wires. Wash using the documented product and temperature. Do not immerse electronics.
- Dry completely in ventilated shade, away from heaters. Refit every attachment and check fit before riding.
Step-by-step repair instructions
- 1
Prepare a safe place
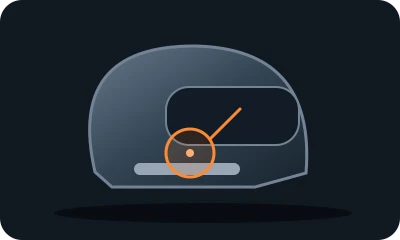
Reference diagram. The marker shows an example inspection area. Follow your model's manual. 
Conceptual illustration. Follow the text and your model's manual. Place the motorcycle securely on level ground, stop the engine and put the key aside. Do not work in traffic or near hot parts.
Expected result: You understand the model instructions and can safely perform the listed tasks.
About 3 min
Stop if: The model, access or safe preparation is unclear.
- 2
Check the fixings
Reference diagram. The marker shows an example inspection area. Follow your model's manual. Conceptual illustration. Follow the text and your model's manual. Find the model and removal diagram for soft pads. Distinguish them from the fixed protective EPS liner. Photograph their position.
Expected result: You identify removable comfort pads.
About 4 min
Stop if: EPS is cracked or loose, or the helmet sustained an impact.
- 3
Wash as approved
Reference diagram. The marker shows an example inspection area. Follow your model's manual. 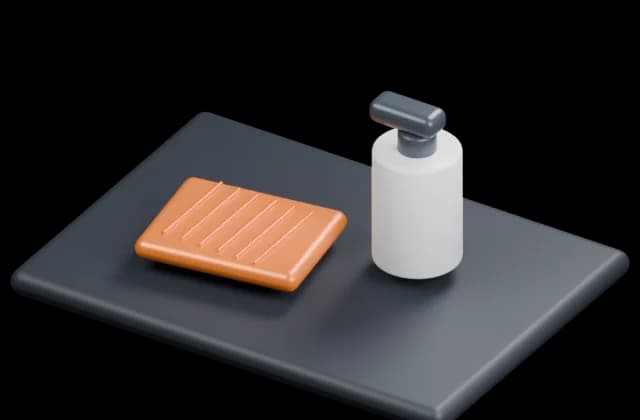
Conceptual illustration. Follow the text and your model's manual. Remove pads without pulling intercom wires. Wash using the documented product and temperature. Do not immerse electronics.
Expected result: Pads are clean and undamaged.
About 4 min
Stop if: A snap breaks or material separates.
- 4
Dry and reinstall
Reference diagram. The marker shows an example inspection area. Follow your model's manual. 
Conceptual illustration. Follow the text and your model's manual. Dry completely in ventilated shade, away from heaters. Refit every attachment and check fit before riding.
Expected result: Padding is dry and securely seated.
About 4 min
Stop if: The helmet is loose or padding moves.
- 5
Check the outcome and save your notes
Reference diagram. The marker shows an example inspection area. Follow your model's manual. 
Conceptual illustration. Follow the text and your model's manual. Restore parts to their normal position as instructed. Perform one brief, safe check. Note what changed after each task; if the fault remains, give a technician the model and a photo of the symptom.
Expected result: The symptom has stopped or you have clear notes for a technician.
About 3 min
Stop if: Protective-liner damage, broken fixings or uncertain fit require manufacturer assessment. Do not glue EPS.
When should you call a professional?
Protective-liner damage, broken fixings or uncertain fit require manufacturer assessment. Do not glue EPS.
Does your situation look different?
Take a photo — FIXIT will assess your fault and suggest checks for your situation.
Check your problemThis guide is for information only. If unsure, get professional help. In an emergency, call 112.