USB cable — plug will not fit
Identify the connector without forcing it.
Difficulty
Easy
Time
5–25 min
Cost
—
Symptoms
- new cable does not fit the port
Possible causes
1Different connector standard or damaged plug
Less likelyThis is a possible explanation, not a confirmed diagnosis. Compare it with the safe checks below.
- Unplug the power adapter. Compare cable ends and port with the manual. Similar-width connectors may use different standards.
Initial checks
- Unplug the power adapter. Compare cable ends and port with the manual. Similar-width connectors may use different standards.
- Inspect in good light. Wipe only loose dust from the outer edge with a dry cloth. Do not insert metal or sticks.
- Choose a cable specified for the device and try gentle insertion. Avoid arbitrary adapters and force.
Step-by-step repair instructions
- 1
Prepare a safe place
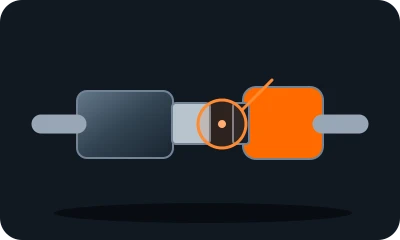
Reference diagram. The marker shows an example inspection area. Follow your model's manual. 
Conceptual illustration. Follow the text and your model's manual. Find the manual and model identifier. Photograph the initial condition. Start with reversible checks that do not open the casing or require force.
Expected result: You understand the model instructions and can safely perform the listed tasks.
About 3 min
Stop if: The model, access or safe preparation is unclear.
- 2
Compare markings
Reference diagram. The marker shows an example inspection area. Follow your model's manual. Conceptual illustration. Follow the text and your model's manual. Unplug the power adapter. Compare cable ends and port with the manual. Similar-width connectors may use different standards.
Expected result: You know the required connector standard.
About 4 min
Stop if: A part is bent or melted.
- 3
Inspect the surface
Reference diagram. The marker shows an example inspection area. Follow your model's manual. 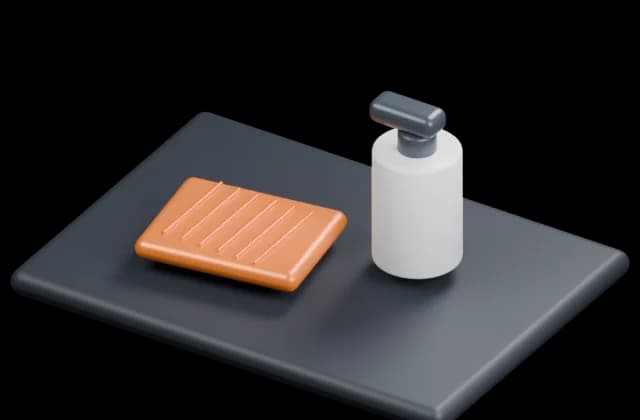
Conceptual illustration. Follow the text and your model's manual. Inspect in good light. Wipe only loose dust from the outer edge with a dry cloth. Do not insert metal or sticks.
Expected result: The port edge is visible.
About 4 min
Stop if: Dirt is packed inside.
- 4
Use a compatible cable
Reference diagram. The marker shows an example inspection area. Follow your model's manual. 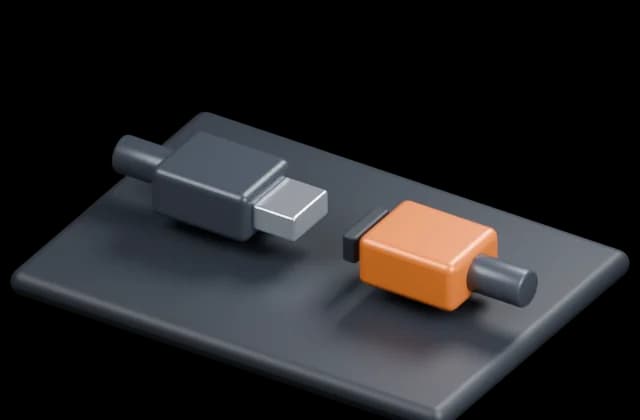
Conceptual illustration. Follow the text and your model's manual. Choose a cable specified for the device and try gentle insertion. Avoid arbitrary adapters and force.
Expected result: The plug inserts normally.
About 4 min
Stop if: The port moves or the plug still will not fit.
- 5
Check the outcome and save your notes
Reference diagram. The marker shows an example inspection area. Follow your model's manual. 
Conceptual illustration. Follow the text and your model's manual. Restore parts to their normal position as instructed. Perform one brief, safe check. Note what changed after each task; if the fault remains, give a technician the model and a photo of the symptom.
Expected result: The symptom has stopped or you have clear notes for a technician.
About 3 min
Stop if: Have a blocked or loose port serviced. Do not widen it with a tool.
When should you call a professional?
Have a blocked or loose port serviced. Do not widen it with a tool.
Does your situation look different?
Take a photo — FIXIT will assess your fault and suggest checks for your situation.
Check your problemThis guide is for information only. If unsure, get professional help. In an emergency, call 112.