Coffee machine — drip tray fills quickly
Distinguish normal rinse water from a leak.
Difficulty
Easy
Time
5–25 min
Cost
—
Symptoms
- water overflows from the drip tray
Possible causes
1Full tray or incorrectly fitted indicator
Less likelyThis is a possible explanation, not a confirmed diagnosis. Compare it with the safe checks below.
- End brewing and let it cool. Check where rinse water goes in the manual. Do not remove the tray during operation.
Initial checks
- End brewing and let it cool. Check where rinse water goes in the manual. Do not remove the tray during operation.
- Remove the tray as instructed. Empty and wash it as permitted, clearing residue from the indicator without opening the casing.
- Seat the dry tray fully. Observe one ordinary rinse and note the water amount. Do not block drain openings.
Step-by-step repair instructions
- 1
Prepare a safe place
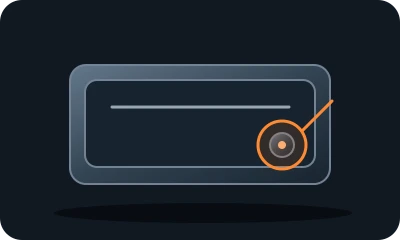
Reference diagram. The marker shows an example inspection area. Follow your model's manual. 
Conceptual illustration. Follow the text and your model's manual. Stop the appliance. Clean it only after safely disconnecting power and allowing it to cool. Identify user-serviceable parts in the model's manual.
Expected result: You understand the model instructions and can safely perform the listed tasks.
About 3 min
Stop if: The model, access or safe preparation is unclear.
- 2
Note when water appears
Reference diagram. The marker shows an example inspection area. Follow your model's manual. Conceptual illustration. Follow the text and your model's manual. End brewing and let it cool. Check where rinse water goes in the manual. Do not remove the tray during operation.
Expected result: You know whether filling follows rinsing or brewing.
About 4 min
Stop if: Water reaches underneath the machine or its cable.
- 3
Empty and wash the tray
Reference diagram. The marker shows an example inspection area. Follow your model's manual. 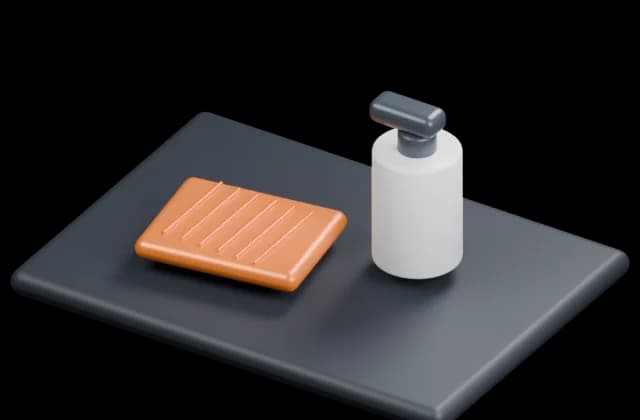
Conceptual illustration. Follow the text and your model's manual. Remove the tray as instructed. Empty and wash it as permitted, clearing residue from the indicator without opening the casing.
Expected result: Tray and indicator are clean.
About 4 min
Stop if: The tray is cracked or float damaged.
- 4
Check one cycle
Reference diagram. The marker shows an example inspection area. Follow your model's manual. 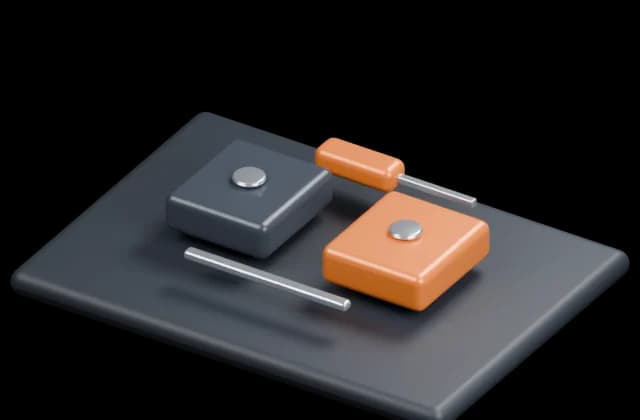
Conceptual illustration. Follow the text and your model's manual. Seat the dry tray fully. Observe one ordinary rinse and note the water amount. Do not block drain openings.
Expected result: Water reaches the intended tray.
About 4 min
Stop if: The tray fills immediately or leaks at the side.
- 5
Check the outcome and save your notes
Reference diagram. The marker shows an example inspection area. Follow your model's manual. 
Conceptual illustration. Follow the text and your model's manual. Restore parts to their normal position as instructed. Perform one brief, safe check. Note what changed after each task; if the fault remains, give a technician the model and a photo of the symptom.
Expected result: The symptom has stopped or you have clear notes for a technician.
About 3 min
Stop if: A leak outside the tray requires switching off and service. Do not glue internal parts.
When should you call a professional?
A leak outside the tray requires switching off and service. Do not glue internal parts.
Does your situation look different?
Take a photo — FIXIT will assess your fault and suggest checks for your situation.
Check your problemThis guide is for information only. If unsure, get professional help. In an emergency, call 112.